
How to Remove Background Without Losing Image Quality (2025 Guide)
Using NoMoreBG for the Cleanest, Sharpest Results
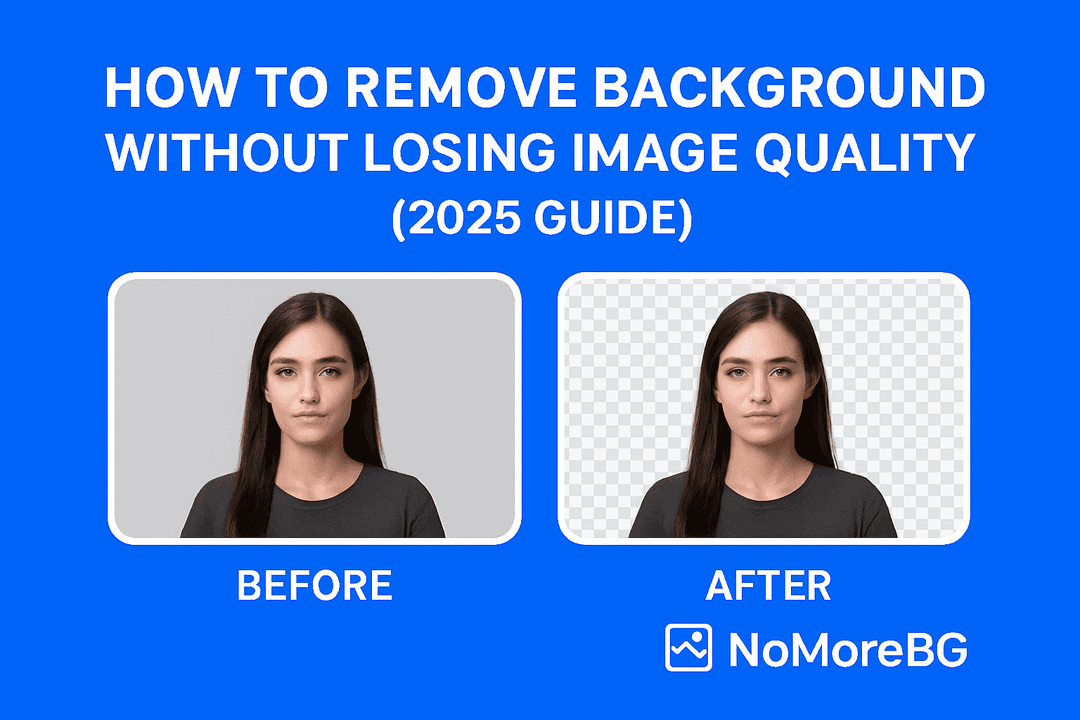
In this guide, you’ll learn how to remove backgrounds cleanly while preserving full image quality, and why NoMoreBG is one of the best options for crisp, high-resolution results.
Why Image Quality Drops After Background Removal
Image quality often decreases because:
Low-resolution uploads
Heavy compression done by cheap tools
Incorrect export formats (JPG instead of PNG)
Weak AI edge detection
Auto-smoothing that removes detail
Using a quality-preserving tool is the key — and this is where NoMoreBG performs extremely well.
Step-by-Step: Remove Background Without Losing Quality
1. Start With a High-Resolution Image
AI tools like NoMoreBG work best when the original photo is sharp and clear.
Upload the highest-resolution version available.
2. Use a High-Quality AI Background Remover (Recommended: NoMoreBG)
Not all background removers are equal — some drastically reduce image quality after processing.
NoMoreBG is designed to:
✔ Preserve original image resolution
✔ Keep hair and object edges sharp
✔ Export in transparent PNG
✔ Avoid compression artifacts
This makes it perfect for product photography, branding, and professional visuals.
3. Always Export as PNG (Not JPG)
After removing the background, download your image as:
PNG (transparent)
Full resolution
PNG keeps sharp edges and prevents quality loss.
NoMoreBG automatically exports in high-quality PNG format to protect your image details.
4. Clean Edges Manually if Needed
Although NoMoreBG’s AI is precise, you can enhance accuracy using manual tools (Photoshop, Photopea, or similar):
Zoom 200–300%
Fix minor edge imperfections
Restore or erase missed details
Smooth transitions around hair or product edges
This step gives a flawless, studio-level result.
5. Upscale After Background Removal
If your image still looks soft, use an AI upscaler.
Popular options:
Upscayl
Topaz Gigapixel
Adobe Enhance
Cutout.pro upscaler
Upscaling after background removal helps maintain clarity.
6. Export Without Compression
When saving your final file:
✔ Keep original resolution
✔ Avoid compression
✔ Use PNG for transparent backgrounds
Tools like NoMoreBG already ensure lossless export, avoiding unexpected quality drops.
Pro Tips to Maintain Maximum Quality
✔ Use NoMoreBG for product photos
Its edge detection is extremely clean around:
Shoes
Clothing
Accessories
Electronics
People
✔ Keep original lighting clean
AI works better with distinct edges.
✔ Don’t resize too early
Resize only after removing the background.
✔ Retain natural shadows
Makes product images look more realistic.
When to Use JPG vs. PNG
JPG:
Social media
Non-transparent backgrounds
Smaller file size needed
PNG:
Professional editing
Transparent backgrounds
Maximum sharpness
E-commerce product photos
NoMoreBG exports in PNG to maintain maximum clarity.
Why NoMoreBG Is Perfect for High-Quality Background Removal
If your goal is zero quality loss, NoMoreBG is built specifically for that:
✨ Features built for quality
No compression on export
Sharp edge-detection AI
True transparency PNG
Fast processing
Browser-based and lightweight
Ideal for beginners and designers
While many tools downscale images, NoMoreBG avoids that — making it a great choice for e-commerce, branding, and content creation.
Final Thoughts
Removing a background without losing image quality is easy when you follow the right steps:
✔ Start with a high-quality photo
✔ Use NoMoreBG for clean, sharp background removal
✔ Export as transparent PNG
✔ Clean edges manually if needed
✔ Upscale your final image
By combining these steps, you’ll always end up with crisp, professional images ready for websites, ads, thumbnails, or product listings.